
Finally as promised..........................
cut 2 pieces 6" x 5" - front & back of bag
cut 2 pieces 3" x 5" - sides of bag
cut 1 piece 3" x 7" - bottom of bag
cut 1 piece 6" x 6" - flap (trim to design)
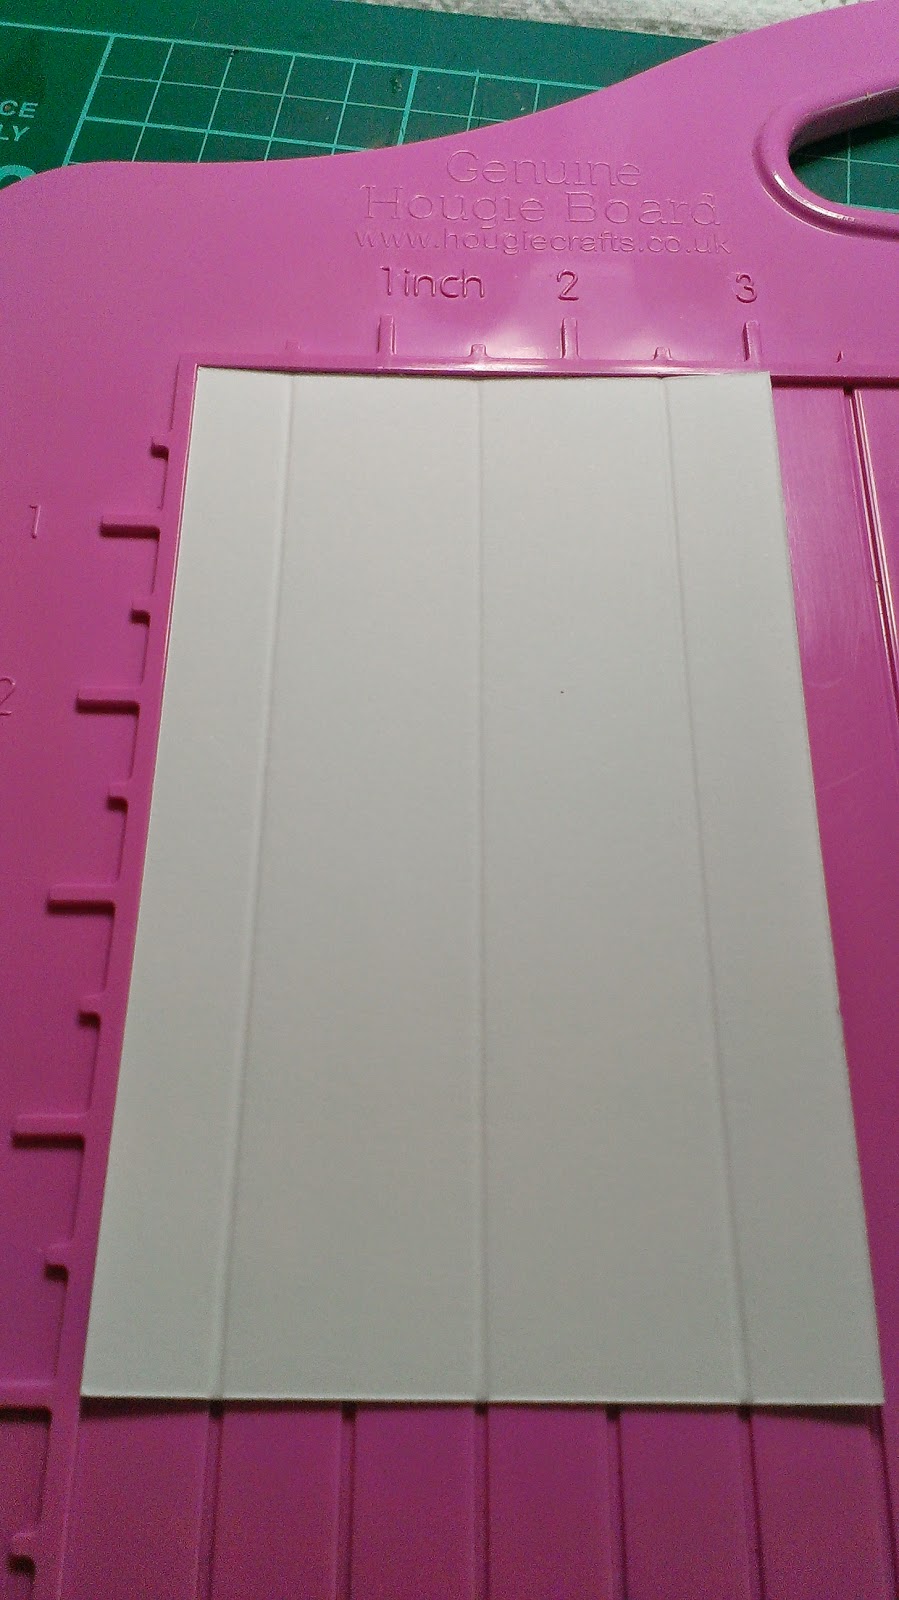
take the two 3" x 5" pieces, and place short sides against top of score board & score at half inch, 1 and half inch & 2 and half inch, then fold mountain, valley and mountain fold, as shown in picture....

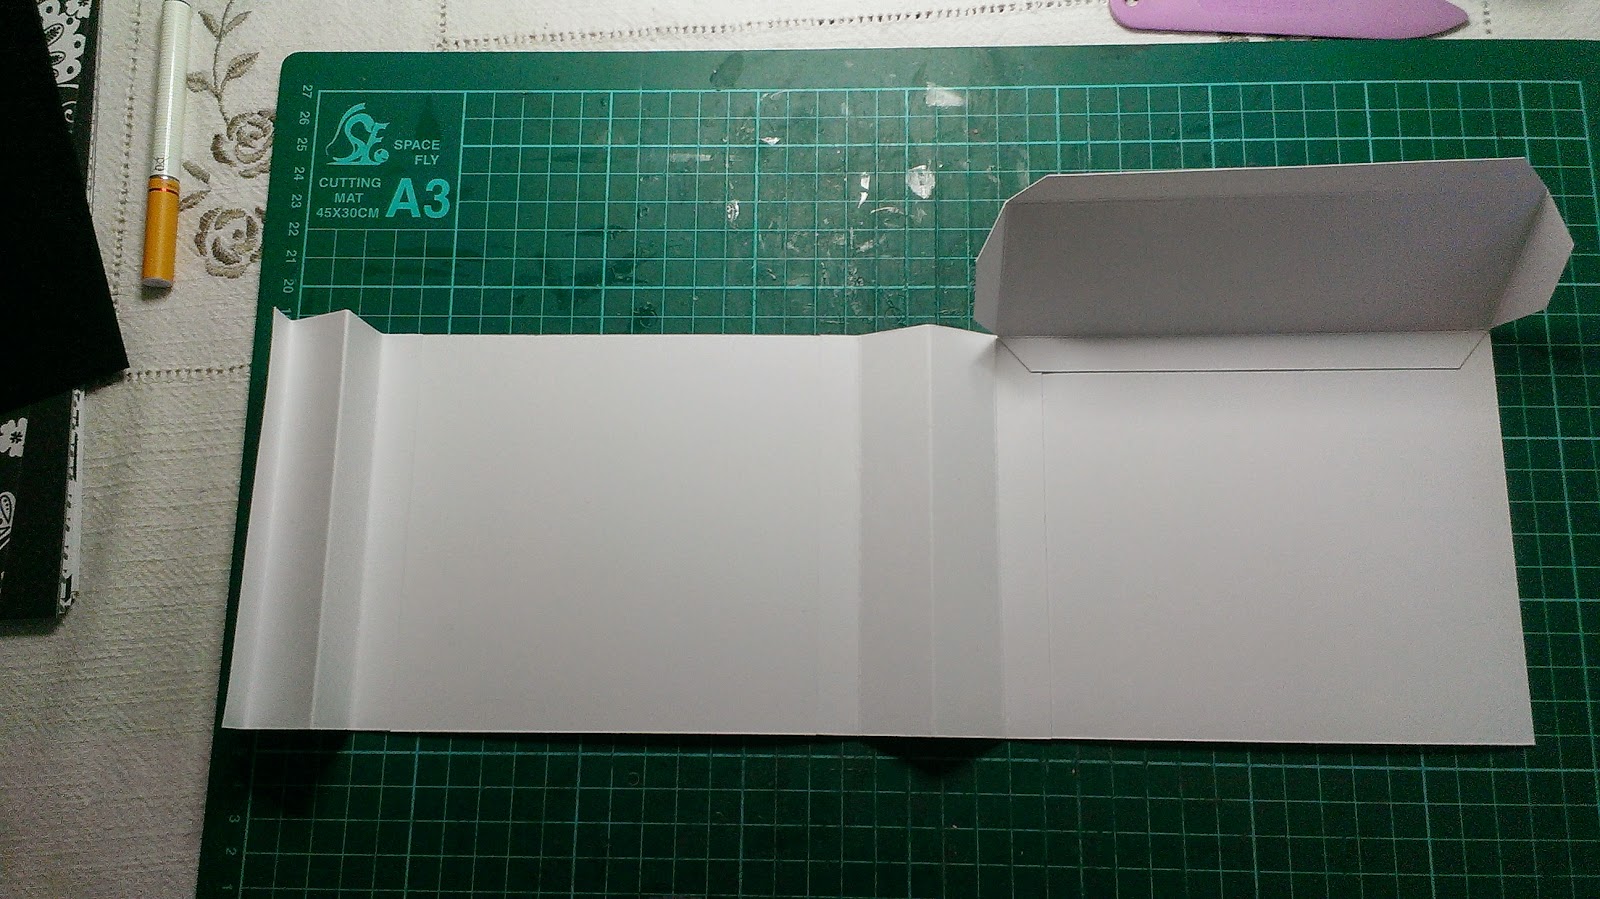
...........then take the 3" x 7" card and score 1/2" on all four sides, then cut 4 corners off where the score lines cross, fold along score lines and burnish with bone folder for crisp folds, then add red tape as indicated in photo.

 Now we start to put the bag together, join the two 6" x 5" pieces either side of one 3" x 5", attach the card up to the half inch score line on the 3" x 5" piece.
Next join the other 3" x 5" in the same way, either to the left or right side, I've put it to the right as you can see in the 2nd picture, I've tried to show in this picture how to attach the 7" x 3" piece which is the bottom of the bag, start by attaching the long side, then I fold the bag around the base removing red tape and sticking as I go.


Now we start to put the bag together, join the two 6" x 5" pieces either side of one 3" x 5", attach the card up to the half inch score line on the 3" x 5" piece.Next join the other 3" x 5" in the same way, either to the left or right side, I've put it to the right as you can see in the 2nd picture, I've tried to show in this picture how to attach the 7" x 3" piece which is the bottom of the bag, start by attaching the long side, then I fold the bag around the base removing red tape and sticking as I go.
You should end up with a basic bag shape like this.
Now for the flap, you can alter this to match your design as long as you keep it to 6 inches wide. I have scored my flap at 1 inch and 2 inches which gives me a 4 inch flap to open and close the bag, also it gives me a lovely large area to decorate. I have also punched two holes for the bag handle.
On other bags I have scored at 1 inch and 1 and a half inches, but because I am including matching cards in this bag, I wanted that extra half an inch to enable me to put more in the bag, the choice is yours.
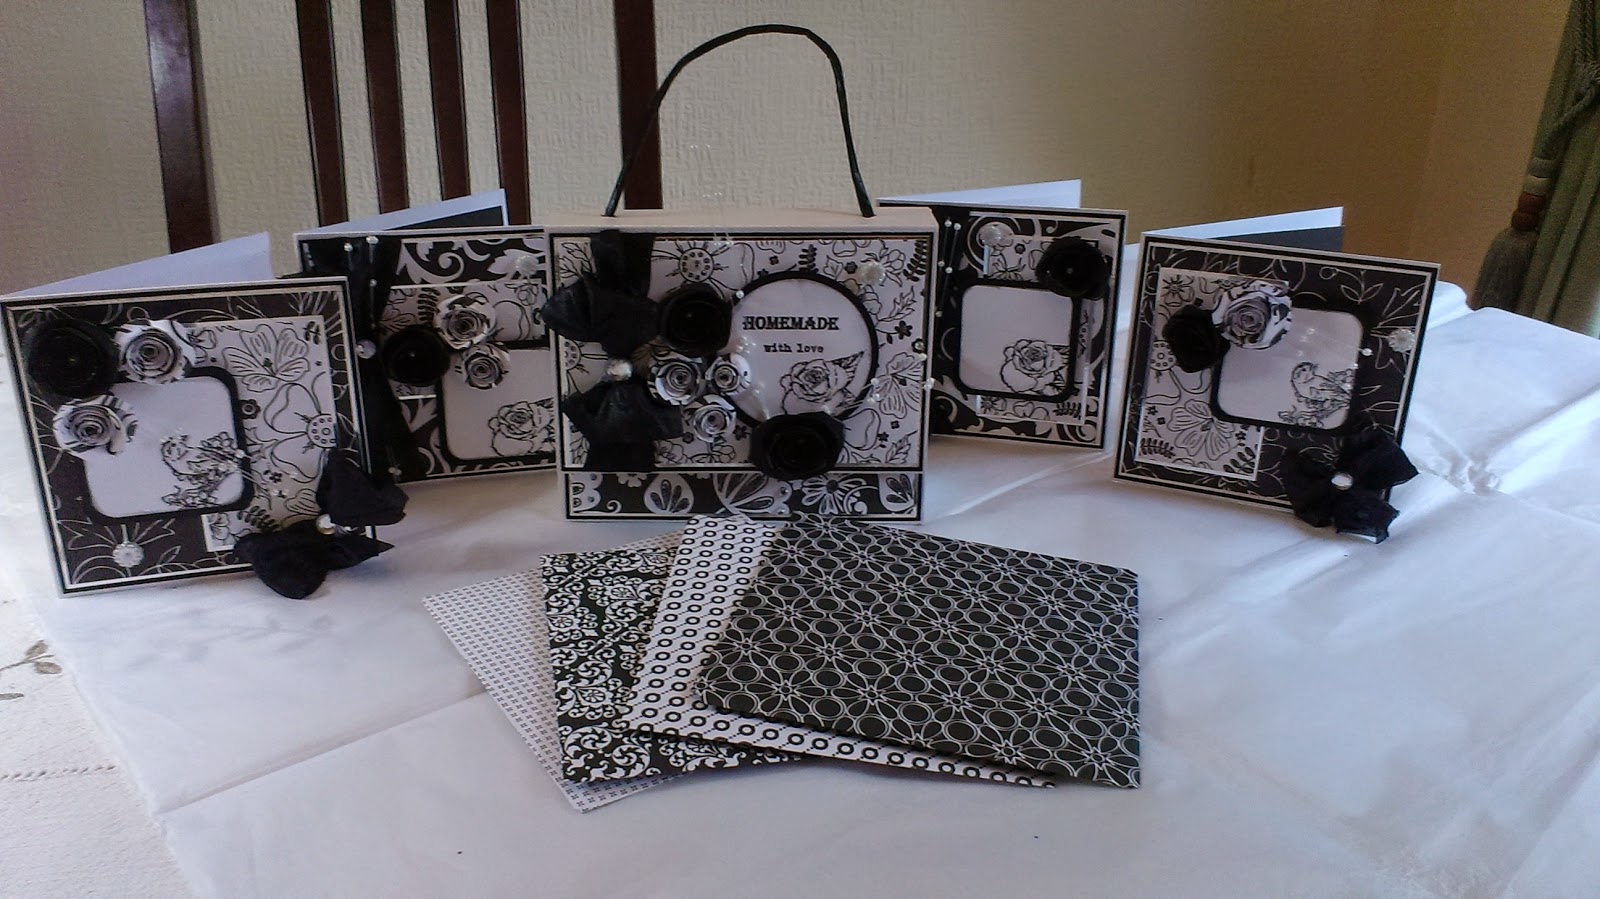
So this is the finished bag which I have had lots of fun decorating, one tip is don't add your decorative papers to the reverse until you have attached the flap or you will have part of the flap hanging over your design.
I have made matching cards and envelopes because I had some gorgeous black and white papers..........
I have entered this bag into:
creative fingers challenge #45 - Black and ...............
crafters cafe blog challenge #75 - Use lots of layers
Outlawz Monday Greetings Challenge - Use Circles
crafting from the heart challenge 31 - anything goes
Just to show you can make them in any shape, size and colour ..................
No comments:
Post a Comment